


DataLab for scientific camera characterization#
The problem#
Before trusting the images of a scientific camera or detector, you need to know how it behaves in your own conditions: its response to light, its temporal noise, the non-uniformity of its pixels, its conversion gain and read noise, its dark current and its defective pixels. Datasheets give typical values, not those of your unit at your settings; ad hoc scripts take time to write and validate, and their results are hard to compare from one camera, one setting or one campaign to the next.
What DataLab does#
The Camera & Detector Characterization plugin adds complete characterization methods to DataLab, run on the dark and flat frames of your workspace:
relative characterization in digital numbers (DN): response curve, temporal noise, DSNU-like and PRNU-like maps, row and column profiles, candidate defective pixels,
photon transfer curve: conversion gain (e⁻/DN), read noise, saturation capacity and dynamic range,
dark current and hot pixels, from a dark ramp,
results added to the workspace as signals, images and metrics tables, next to the frames they come from, ready for the processing and analysis features of DataLab and saved with them in the workspace,
a scientific camera simulator, with a live view, which acquires dark and flat frames ready for the methods,
the methods and their examples are presented in the Applications panel, which tells whether the selected frames can be analyzed, and why not.
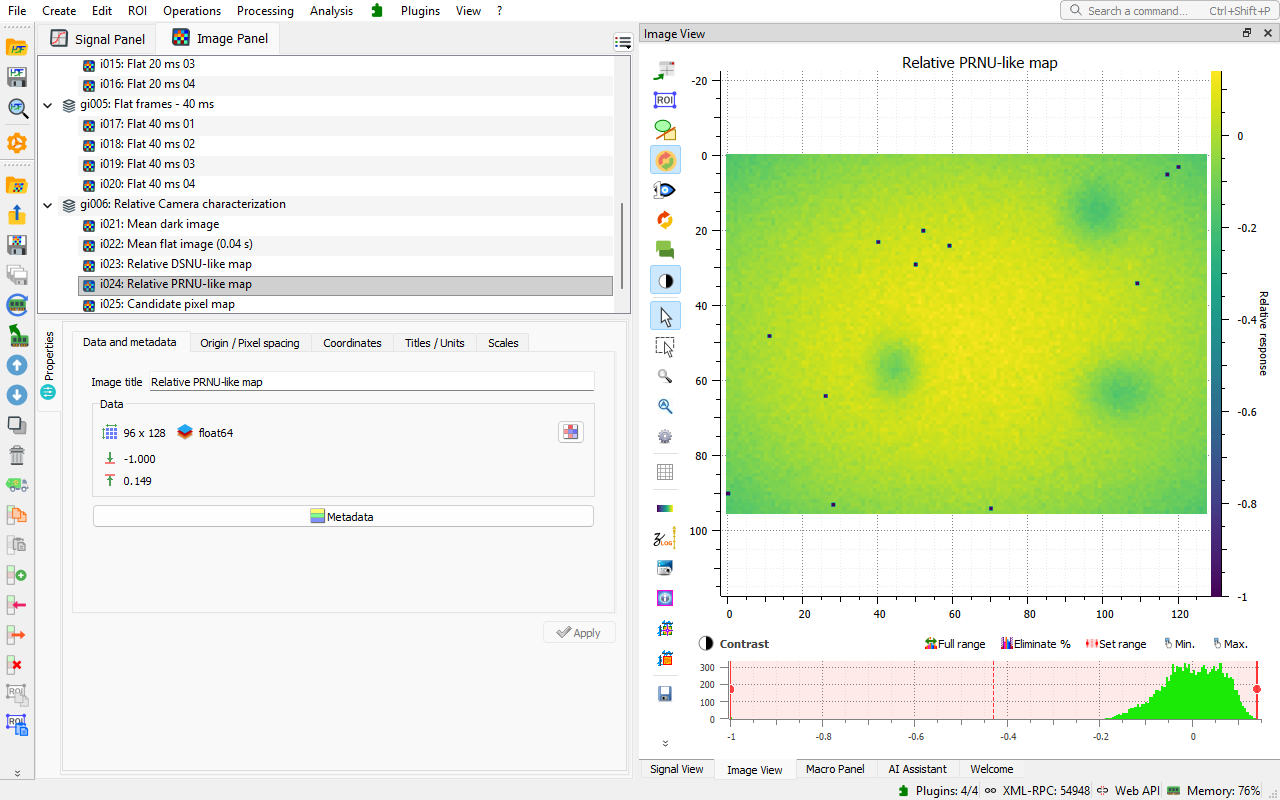
Relative PRNU-like map computed from the quickstart campaign of the Camera & Detector Characterization plugin in DataLab.#
Status#
The plugin is an official plugin of the DataLab plugin catalog, for DataLab Desktop and DataLab-Web, at the Alpha stage: its methods are validated on synthetic data with known truth, and do not claim compliance with the EMVA 1288 standard.
Try it#
No install: open DataLab-Web with the quickstart campaign loaded and the camera characterization method selected in your browser – your data never leaves your machine.
In DataLab Desktop: install the plugin from the Catalog tab of Plugins > Configure plugins… (see Catalog tab), then click its tile on the Welcome page.
Plugin documentation: getting started and methods.